


We use cookies to make your experience better. To comply with the new e-Privacy directive, we need to ask for your consent to set the cookies. Learn more.
Linocut printing, how to do it?

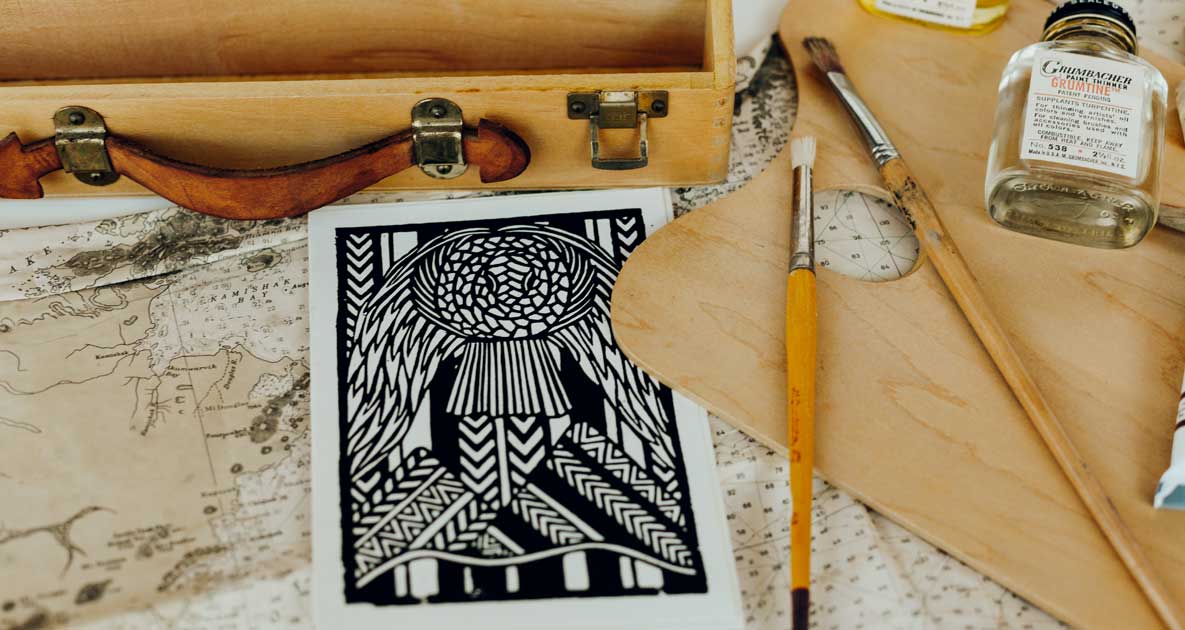
Linocut printing is a technique where parts of the linoleum are carved away to create areas that will remain white when printing on paper. You use a gouging tool for cutting. The parts you want to appear in the print should remain uncut; this is where the ink (or paint) will be applied and transferred onto the paper. It's akin to creating a large stamp. Read this blog to learn exactly how to do it and what you'll need.
What you'll need:
- Linoleum sheets
- Gouging tools with handles
- Block printing ink
- An ink roller
- Paper
Step 1: Design
What are you creating? Start with a drawing. You can draw directly on the linoleum or on paper. Use carbon paper to transfer the design onto the linoleum. When creating your design, keep the following in mind:
- The print will appear mirrored on the paper. This is particularly important for letters and numbers.
- Think in black and white. What you carve away will not be printed and will stay white; what remains will be printed and will be black.
Before cutting, clearly mark on the linoleum plate what should be black and what should be white based on your drawing.
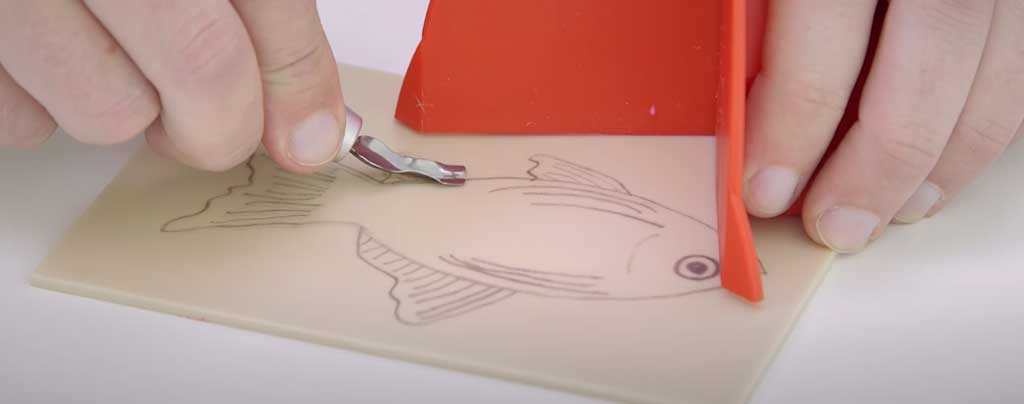
Step 2: Cutting
Cutting is done using a gouge, which comes in various sizes and shapes. A narrow V-gouge is good for precise work along edges, while a wider, flatter gouge is useful for larger white areas. Remove everything that should be white and leave everything that should be black. Don't be afraid to make mistakes and experiment—this is how you learn.
Step 3: Printing
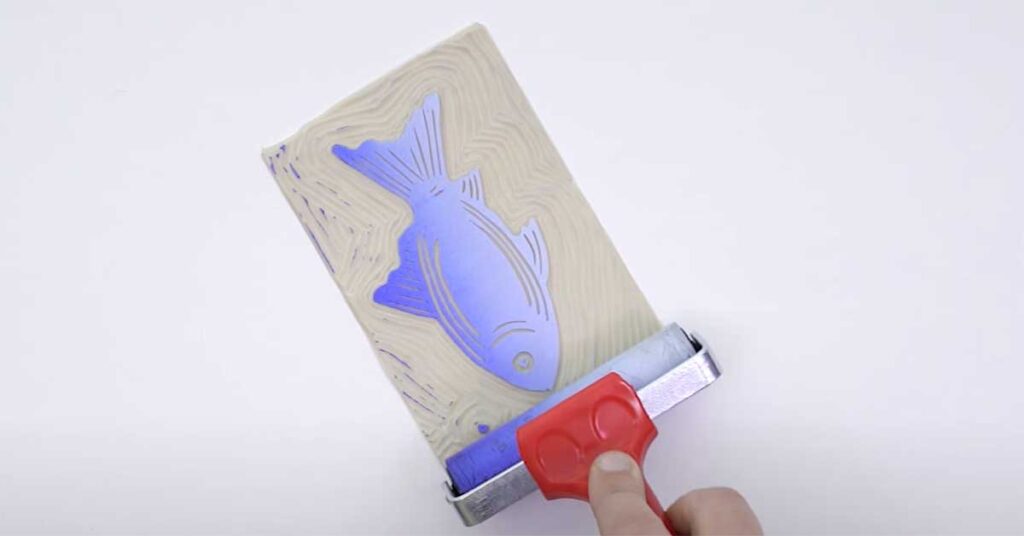
Done cutting? Apply linoleum block printing ink on a smooth surface, like a glass plate. Spread the ink evenly with a spatula. Then, roll the ink roller over the ink to evenly coat it. Make sure the ink roller has a thin, even layer of ink.
Next, roll the inked roller over the linoleum plate. Once the ink is evenly distributed over the raised areas, printing can begin. Place the paper on the linoleum plate, or place the linoleum plate upside down on the paper. Press firmly.

Step 4: Drying
Once the linocut print is firmly pressed onto the paper, carefully remove the paper from the plate and let it dry flat or hang it to dry. Drying time depends on the type of ink used. Linoleum block printing ink comes in water-based or oil-based forms. Water-based ink dries faster. Once the ink is dry, your linocut print is ready.


About the Author

Review: MTN 94 Fluorescent and Transparent Colors
June 20, 2024

Review: Erasable Chalk Sprays & Chalk Markers
June 21, 2024
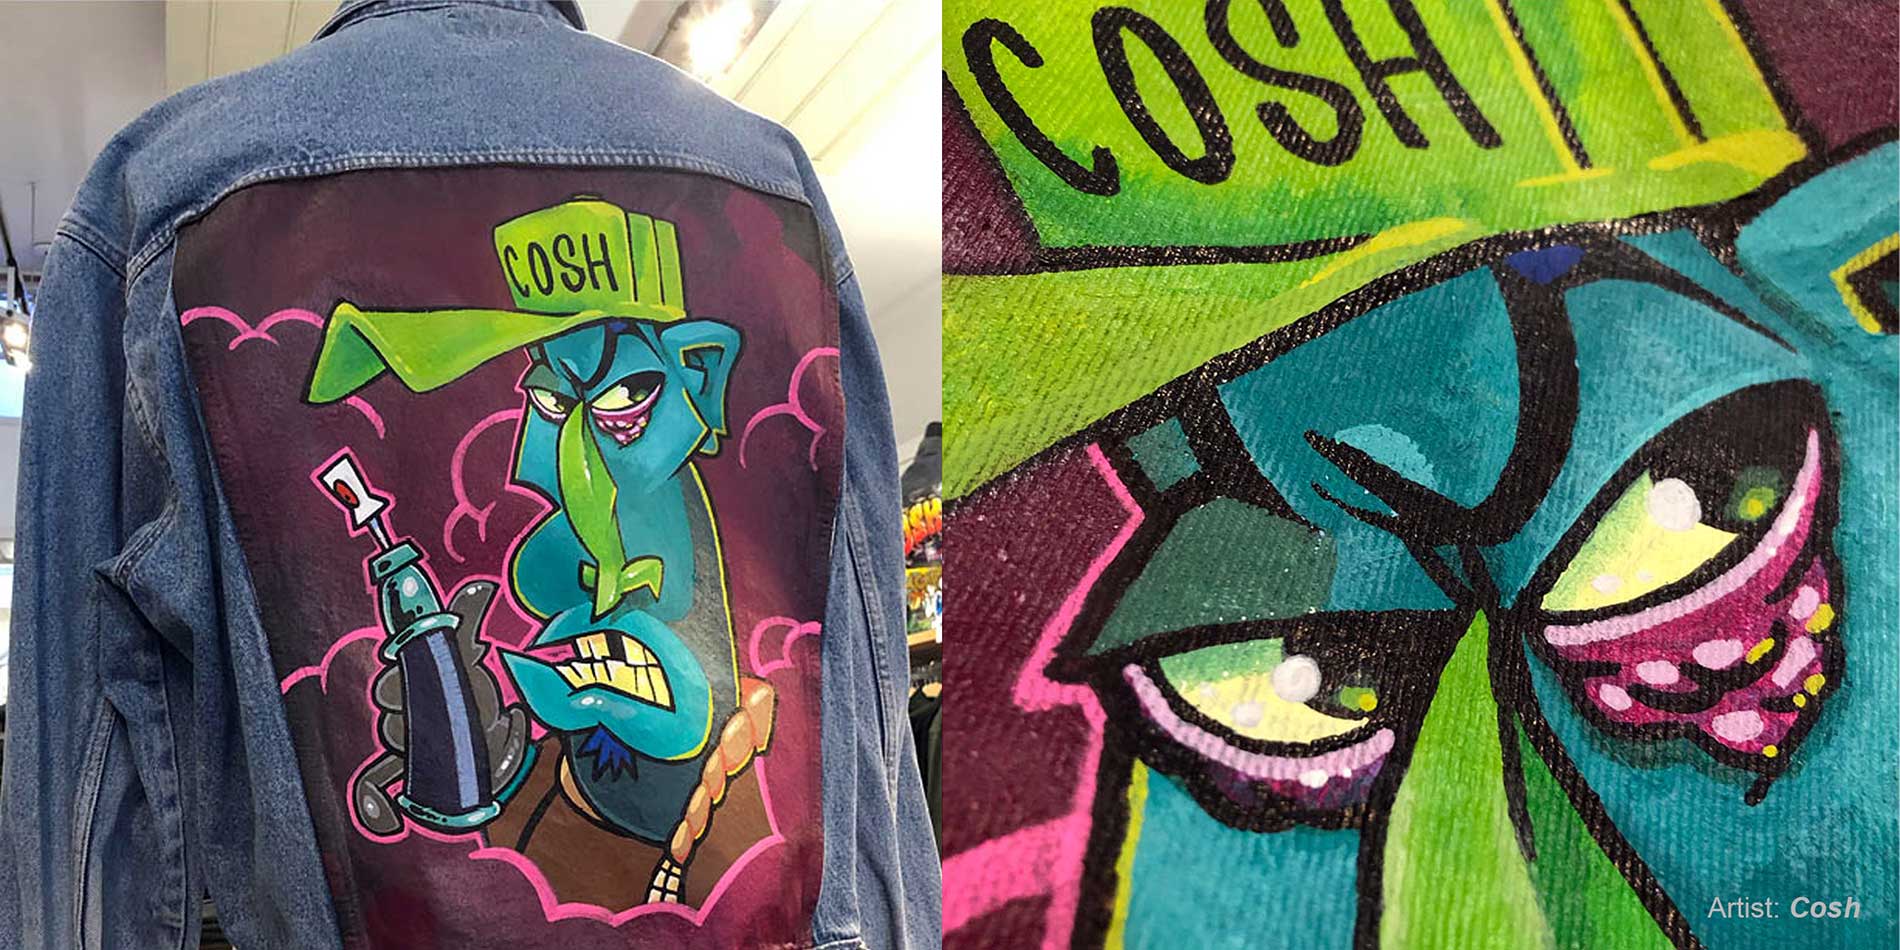
Customize your denim jacket!
June 21, 2024
DIY: Making a Screen Print on a T-shirt
June 21, 2024

Everything You Need to Know About Angelus Leather Paint
August 5, 2024

Legal Graffiti Spots in the Netherlands
July 9, 2024
DIY: Making a Screen Print on a T-shirt
June 21, 2024
Linocut printing, how to do it?
June 21, 2024

Mr. Serious Fat Caps & Beanies
June 21, 2024