


We use cookies to make your experience better. To comply with the new e-Privacy directive, we need to ask for your consent to set the cookies. Learn more.
DIY: Making a Screen Print on a T-shirt

Screen printing is a printing technique primarily used for applying designs onto textiles and other materials. It involves a frame with fine mesh, typically made from aluminum, known as a screen printing frame. A separate frame is required for each color used in the design. The process is straightforward, versatile, and relatively inexpensive, making it accessible for everyone to try. Learn in this blog how to screen print your own design onto a T-shirt!
What you'll need:
- Drawing paper
- Pencil
- Stencil paper
- Tape
- X-Acto knife
- Cutting mat
- Screen printing frame
- T-shirt
- Cardboard
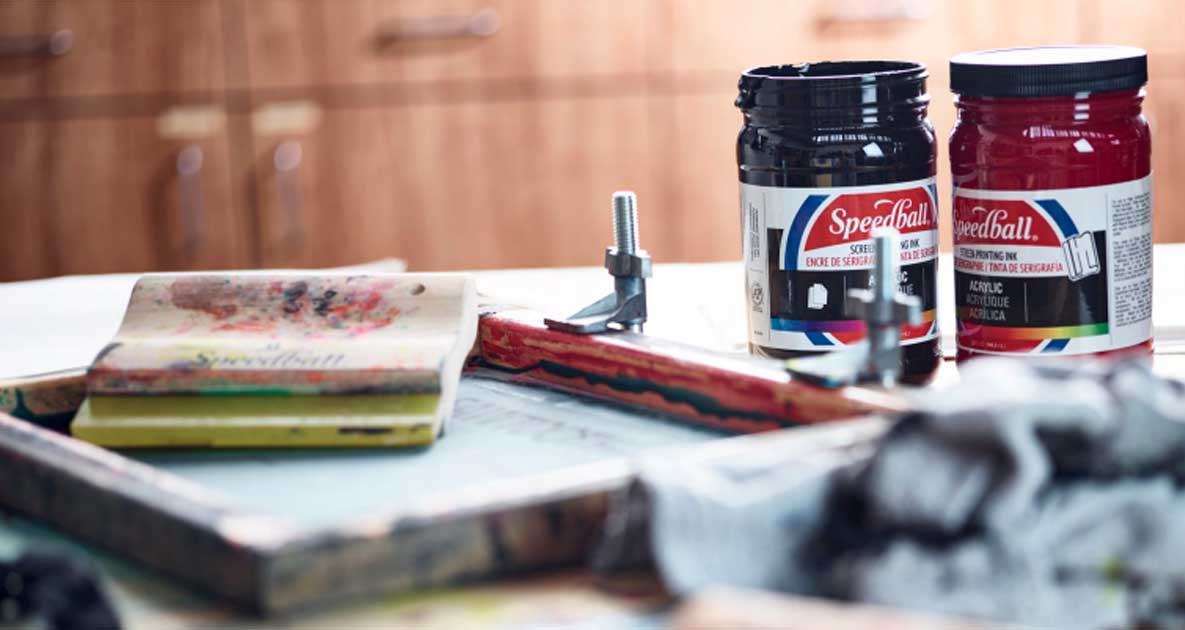
- Fabric paint
- Squeegee
- Iron
- Baking paper
Step 1: Design
Come up with an interesting design and sketch it on a sheet of paper. Do not color it in or add shading — you will be cutting it out to use the rest as a stencil.
Keep it simple at first. An irregular pattern with geometric shapes and circles is easiest and never goes out of style. Draw the shapes far enough apart, especially if you're a beginner, to avoid tearing the paper when cutting.
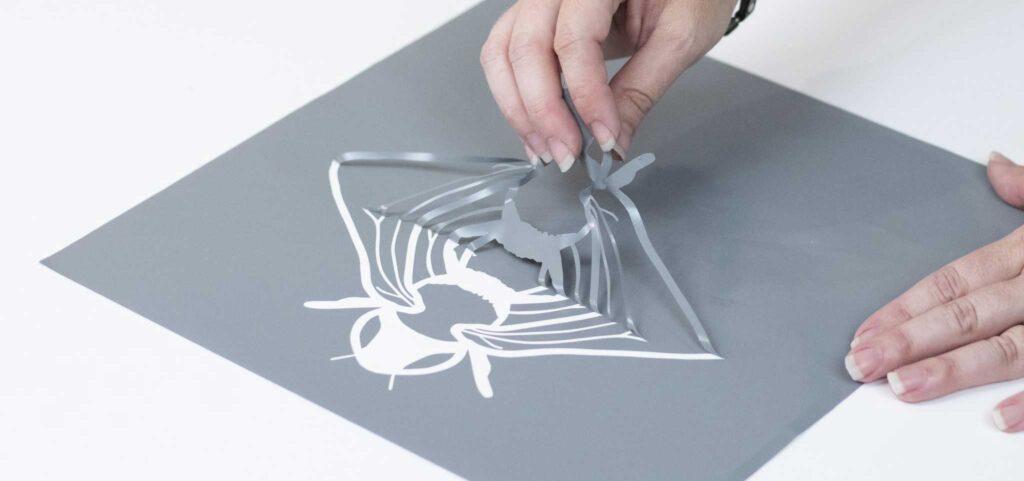
Step 2: Cutting
Use a utility knife to cut out all colored parts of your design. Be careful to keep the surrounding blank paper intact. You've now created a stencil. If it tears, unfortunately, you'll need to start over. Work carefully and precisely.
Ensure your stencil fits well on your T-shirt. If not, you may need to adjust its size or make modifications.
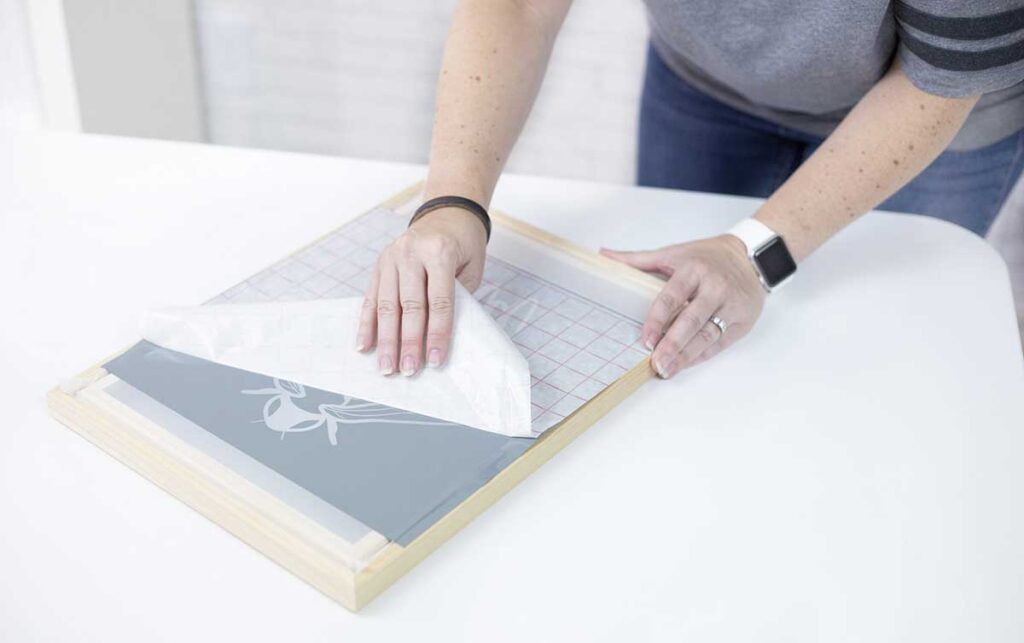
Step 3: Taping
Place the stencil on top of the material (paper or T-shirt), and place the screen printing frame on top of the stencil. Position the stencil so that the mesh sits directly on top (they should touch), with the handles facing up. If there's space between the stencil edges and the frame, tape along the bottom to prevent paint from leaking where it shouldn't.
If using tape, avoid taping the stencil to the mesh. Otherwise, the stencil might shift when using the squeegee.
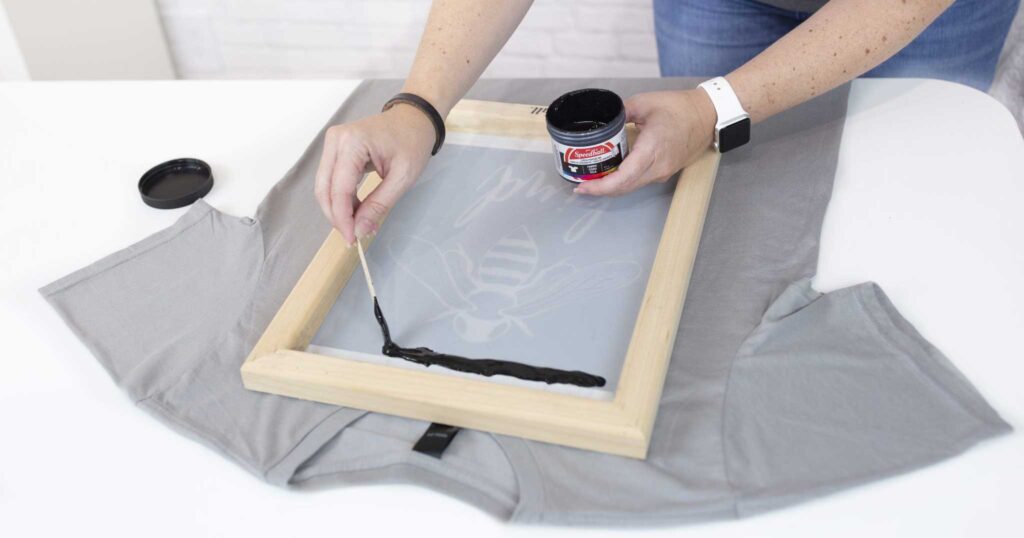
Step 4: Painting
Apply paint to the screen printing frame. Make a line across the top of the frame (the part farthest away from you). At this point, you don't want paint on the stencil. Spoon enough paint onto the frame to cover the stencil.
Using multiple colors with this method can be challenging as they may blend. If you're okay with that effect, give it a try.
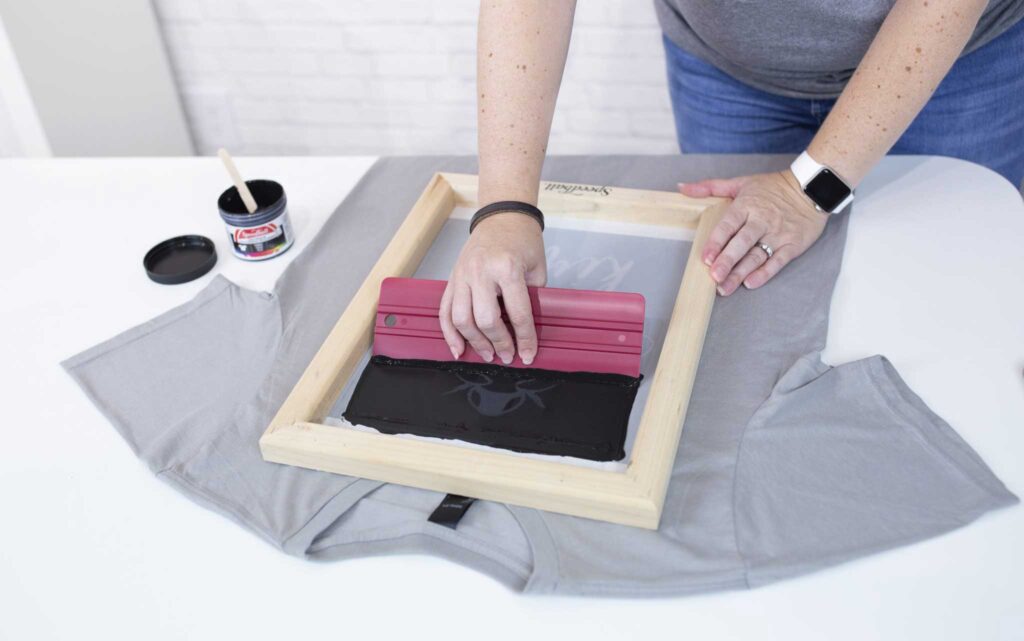
Step 5: Squeegee
Use the squeegee to spread the paint across the mesh. Try to do this in one pass or as few passes as possible. This will ensure the screen print looks as even and professional as possible.
-
Always use vertical strokes. Mixing horizontal and vertical strokes can cause the paint to clump, making it harder to dry and finish.
-
When you reach the bottom, continue and spoon the excess paint above the handle so you can reuse it.
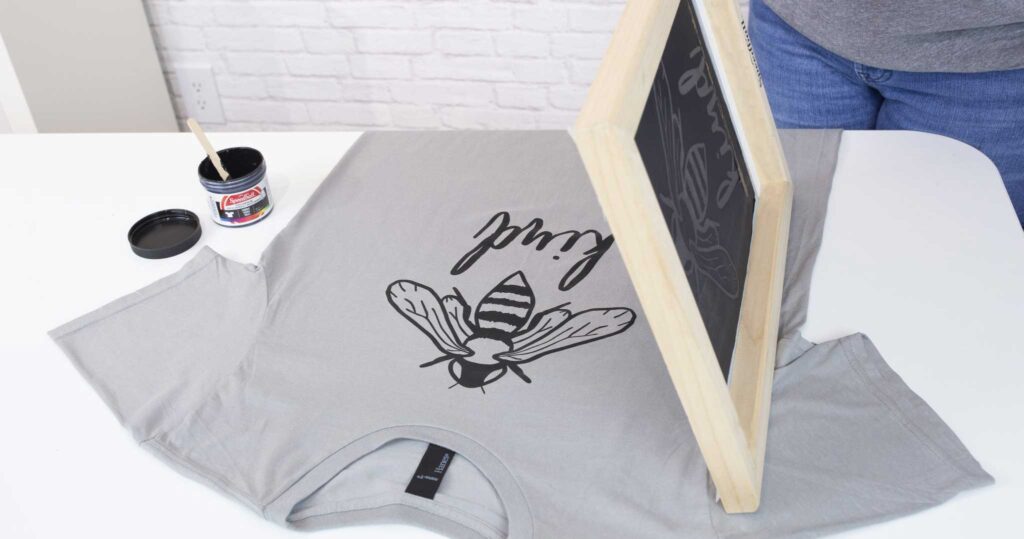
Step 6: Drying
Remove everything from the material carefully. If anything shifts, the paint could smear. It's best to do this layer by layer. Lift each layer one at a time and remove them.
- Allow it to dry. The longer, the better.
- Once the paint is dry, place a sheet of greaseproof paper or tracing paper over the design and iron over it. This will set your design on the garment, allowing you to wear and wash it.


About the Author

Review: MTN 94 Fluorescent and Transparent Colors
June 20, 2024

Review: Erasable Chalk Sprays & Chalk Markers
June 21, 2024
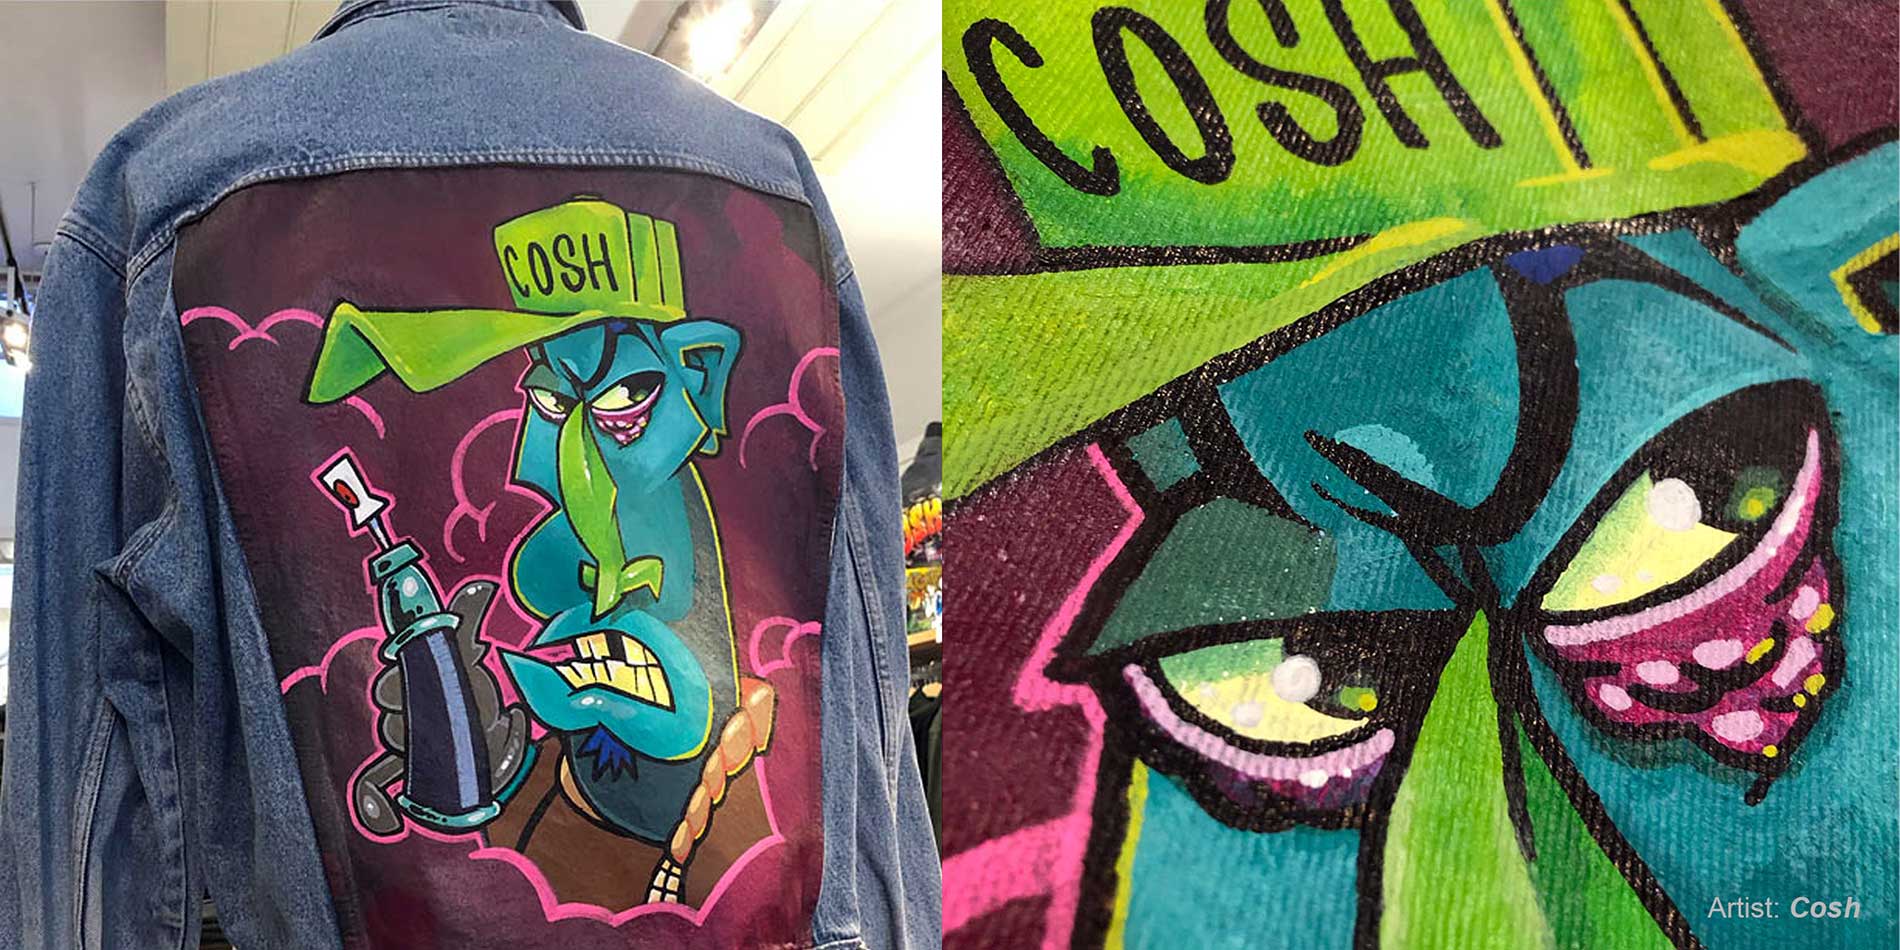
Customize your denim jacket!
June 21, 2024
DIY: Making a Screen Print on a T-shirt
June 21, 2024

Everything You Need to Know About Angelus Leather Paint
August 5, 2024

Legal Graffiti Spots in the Netherlands
July 9, 2024
DIY: Making a Screen Print on a T-shirt
June 21, 2024
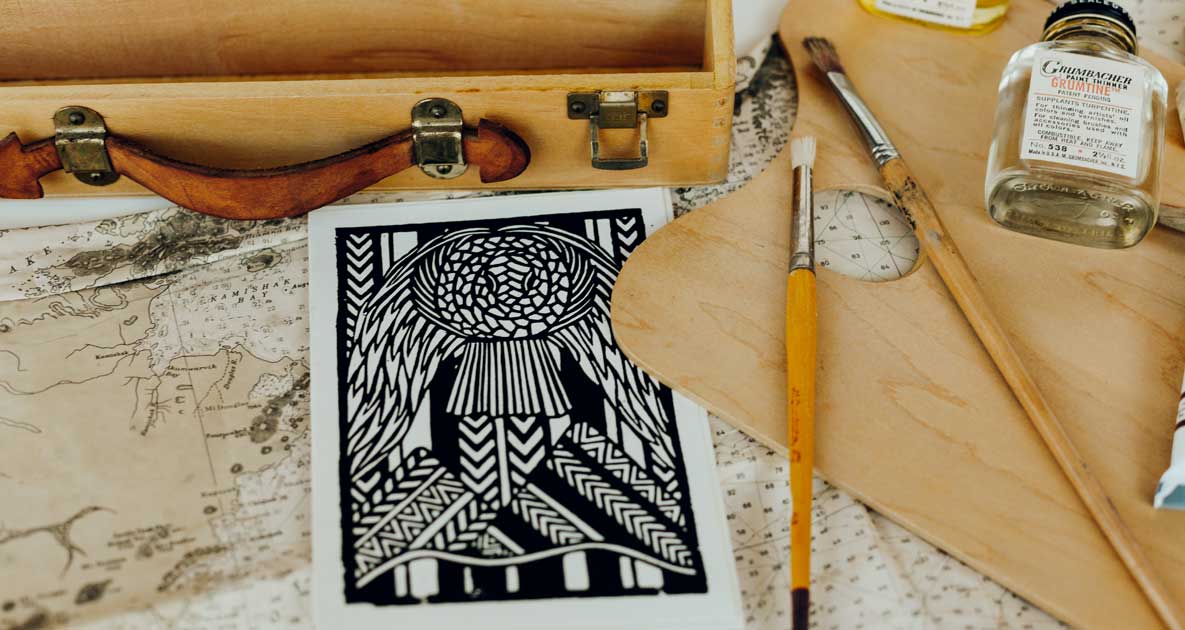
Linocut printing, how to do it?
June 21, 2024
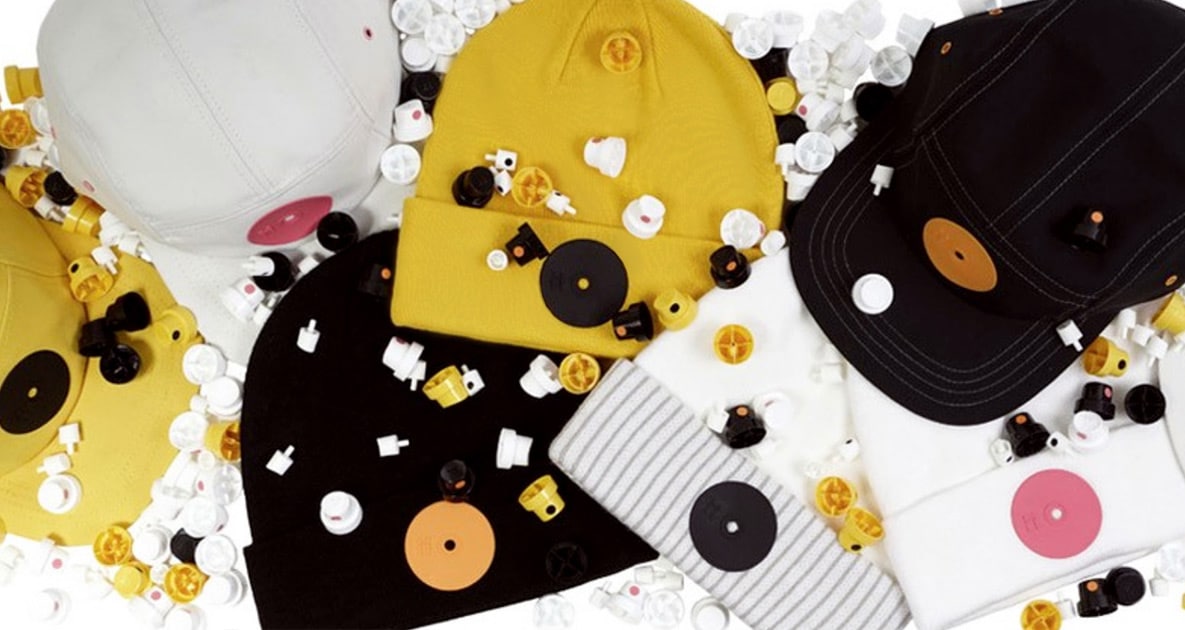
Mr. Serious Fat Caps & Beanies
June 21, 2024