


We use cookies to make your experience better. To comply with the new e-Privacy directive, we need to ask for your consent to set the cookies. Learn more.
Graffiti tips & tricks

As a graffiti shop, people often ask us if we have any tips for using spray cans and accessories. This led us to the idea of listing the top ten tips that come to mind. Here are 10 graffiti tips to make the artist's life a bit easier.
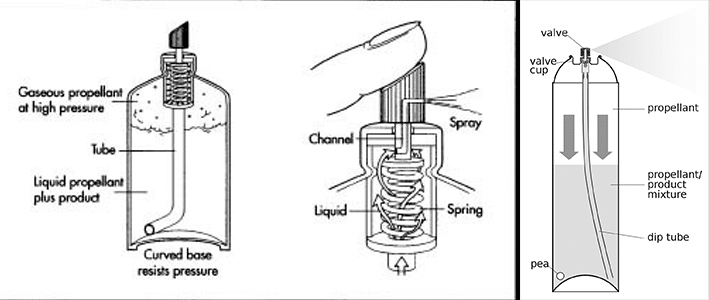
Tip #1 – Use the spray can upright
Not everyone realizes that there is a straw inside the spray can. This straw guides the spray paint out of the can. It is therefore important to use the spray can upright. If you occasionally have to use the spray can horizontally, you will notice that at some point no more paint comes out. To get it working again, shake it a bit and spray vertically so that the straw can fill up again.
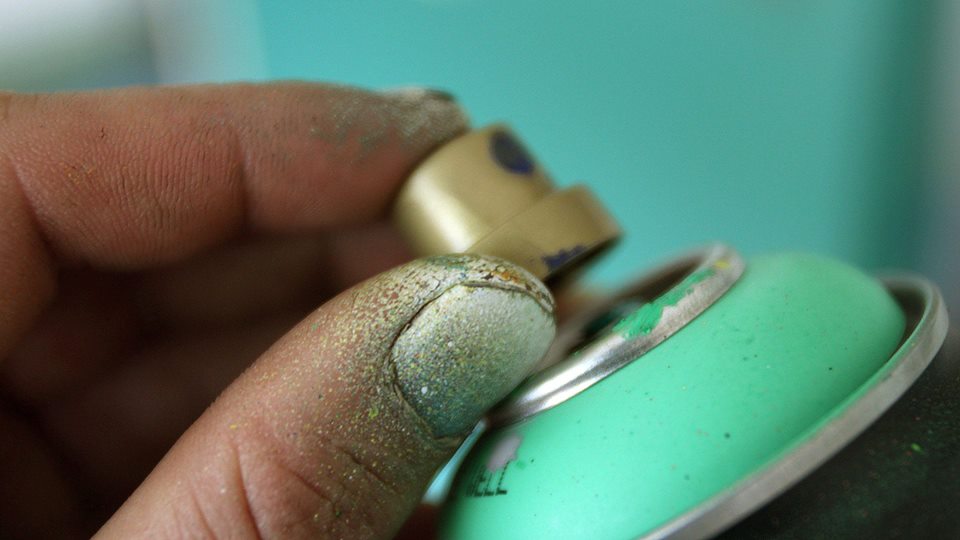
Tip #2 – The stamp trick
Now that we know there's a straw in the spray can, we can play with this principle. When the spray can seems almost empty, you can often get a good amount of paint out of it. Here's how: take off the cap of the spray can and place it upside down on the ground. Make sure you have sturdy shoes so you can give the bottom of the spray can a stamp with your heel. Now the bottom is closer to the end of the straw, allowing the last bit of paint to be absorbed by the straw!
Tip #3 – Dent in the can
A spray can consists partly of gas and partly of paint. You shake them together and then spray the gas mixed with the paint out of the can. However, sometimes you may use a spray can from which the paint doesn't come out so well or at all. This can be very frustrating when you're in the middle of your work and can't use an important color. Often you try first to get it working again with a fat cap. This sometimes helps, but often it doesn't.
If this doesn't work, there's an emergency solution. You want to increase the pressure in the spray can and you can simply do this by denting the side of the spray can. This reduces the volume, making the gas more effective.
Tip #4 – Flush caps
It's always annoying when a cap gets clogged. This happens naturally after some time of use. There are a few tricks to make the caps last longer.
A good tip is to hold the spray can upside down after using the cap and spray the cap until no more paint comes out.
Another tip is to briefly flush the cap with a "cap cleaner". This product removes a lot of paint residues from the cap, prolonging its life.
Finally, after use, you can also put the caps in a white spirit bath, which also dissolves the paint residues that have accumulated in the cap.
Tip #5 – Use in cold weather
Spray cans generally work well in the cold, but it's a good idea to warm them up in warm water before using them at freezing temperatures. You'll find they work much better than when they're cold.
Tip #6 – Sore index finger
If you're spraying large surfaces, you'll find that after a while it can be very taxing on your index finger. For large surfaces, we always use a pistol grip combined with a (very fat) fat cap ourselves.
Tip #7 – Detail work
If super skinny caps aren't thin enough for you, we recommend using a stencil cap. If you learn to use them cleverly, you can get lines as thin as 2mm.
Stencil caps come in various sizes and shapes. You can make them yourself, e.g., with the cap of a cola bottle, or you can save yourself the trouble and buy the cheap version.
If you're working with such a cheap or DIY stencil cap, you'll quickly notice that the paint stopped by the cap will drip along the spray can. To avoid this problem, there are the TINYPINK stencil cap and the Krewline stencil caps. Both variants collect the paint in a reservoir, but our personal preference is for the Krewline stencil caps, as they come in 3 line thicknesses and the paint is collected in an empty dabber, so you can tag after spraying.
Tip #8 – Move silently
If you want to work as quietly as possible, you don't want anyone to hear you shaking the spray cans.
There's a solution, namely the mute can silencer. This is a magnet to place under the spray can, which holds the ball in place.
This silencer only works with metal balls. In the past, we worked with Ironlak spray cans, which have plastic balls (from China...), so the magnet can't do its job.
Tip #9 – Spray can belt
When you're working in difficult places, like the top of a ladder, you don't want to go back and forth to get a spray can of a different color. In this case, you can use a spray can belt. With this, you have easy access to 6 colors.
Tip #10 – Latex undercoat
If the surface you're working on absorbs a lot of paint, like rough concrete, it's a good idea to prime it first with latex. The latex undercoat prevents the sprayed graffiti paint from being absorbed by the wall. This saves a lot of paint!
Another scenario where latex is useful is when the background of your work is a large surface of color. Suppose you're working on a large surface and the background is mostly dark blue, it can be useful to fill the background of the sketch with dark blue latex. Rolling is faster than spraying and you can then work with other shades on top!
In conclusion
These are our top 10 tips. Other tips might come to mind, or you might have good advice. Let us know and we'll update this list!


About the Author
Related Posts

Graffiti workshops
June 20, 2024| Posted in Spray paint| Michel de Kleijn| 108
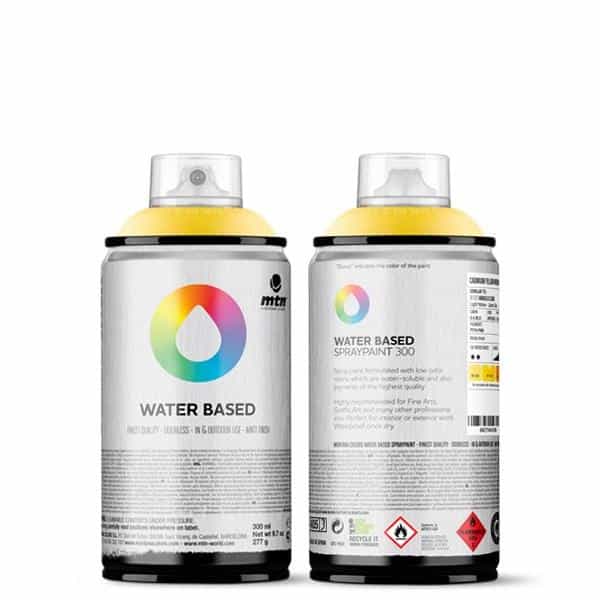
Everything You Need to Know About MTN Water Based Spray Paint
June 20, 2024| Posted in Graffiti | Michel de Kleijn| 257

Review: MTN 94 Fluorescent and Transparent Colors
June 20, 2024| Posted in Spray paint| Michel de Kleijn| 700
Posca markers | The paint markers for endless creativity
June 21, 2024| Posted in Markers & ink| Michel de Kleijn| 204
Review: MTN 94 Fluorescent and Transparent Colors
June 20, 2024

Review: Erasable Chalk Sprays & Chalk Markers
June 21, 2024
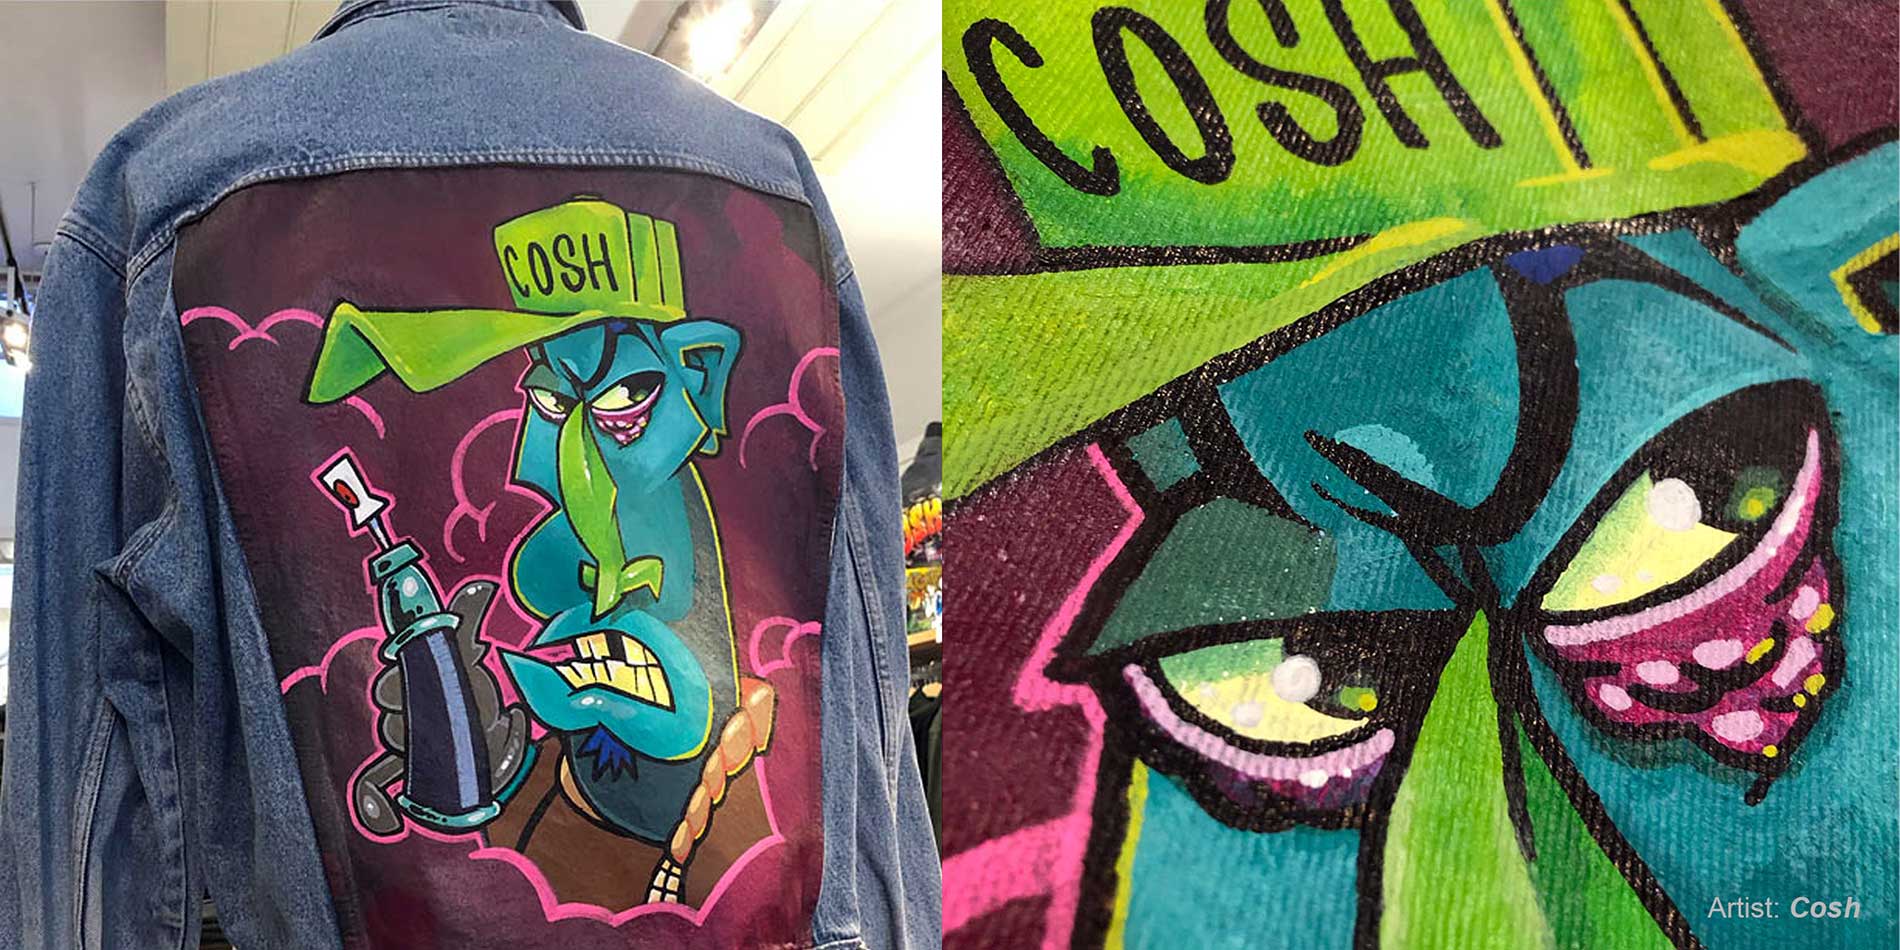
Customize your denim jacket!
June 21, 2024
DIY: Making a Screen Print on a T-shirt
June 21, 2024

Everything You Need to Know About Angelus Leather Paint
August 5, 2024

Legal Graffiti Spots in the Netherlands
July 9, 2024
DIY: Making a Screen Print on a T-shirt
June 21, 2024
Linocut printing, how to do it?
June 21, 2024

Mr. Serious Fat Caps & Beanies
June 21, 2024