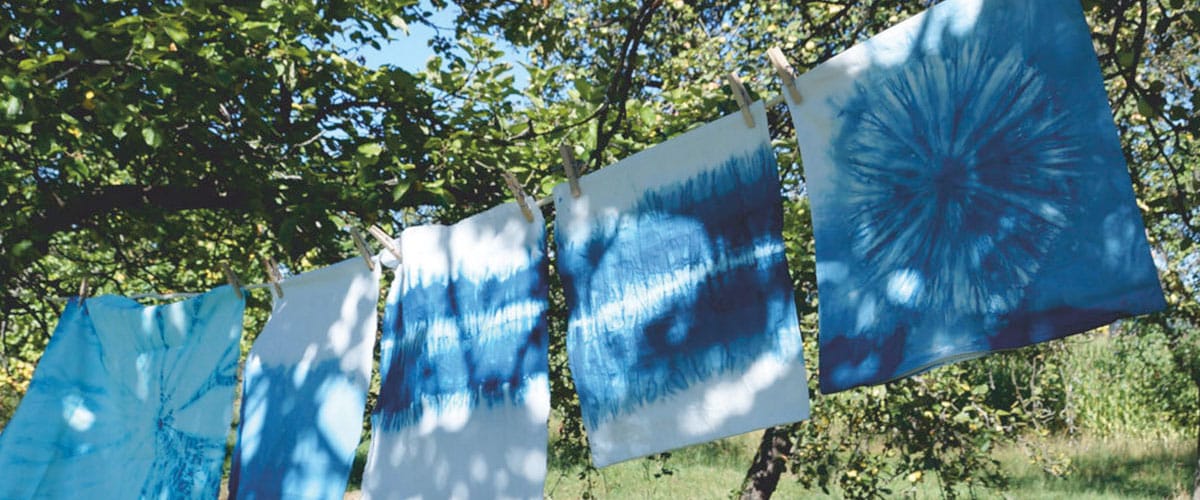
Many tie-dye techniques are explained, showing you how to get started as a professional, but sometimes you just want to get to know the basics! In this post, we’ll explain the basics in simple tie-dye instructions, whether you want to learn how to make a tie-dye shirt, how to dye socks or any other fabric item!
What do you need:
With us you will find Tie Dye sets, which contain everything you need – except the fabric! We recommend 100% natural fibers such as cotton, rayon or silk for the best color results. Synthetic fabrics such as polyester may not absorb the dye or not absorb it well.

Step 1:
Before starting the tie dye, wash the fabric item to remove the sizing. Then take your damp fabric straight from the washing machine and prepare it for dyeing.

Step 2:
Fold, turn and tie your fabric according to your chosen tie-dye technique.

Step 3:
Once your fabric is tied, it’s time to mix your Tie Dye colors! Mix the powder with water, in paint bottles or a bucket. Make sure the dye is mixed well before going to step 4.

Step 4:
Squeeze the paint bottle or use a syringe into different areas of your bonded fabric as desired. You may need to turn and / or flip your fabric as you apply paint to make sure you cover all the sections.

Step 5:
Cover your tie-dyed fabric in plastic to keep it moist while the dye hardens. Leave it on for 6 to 8 hours or more for the brightest colors. Follow the tie-dye instructions on the package for washing instructions.
